Tubeless tyres: are you doing it properly?
Malcolm Borg of The Cycle Clinic is a wheelbuilder and long-distance cyclist. This is his guide to throwing away your inner tubes
- (opens in new tab)
- (opens in new tab)
- (opens in new tab)
- Sign up to our newsletter Newsletter
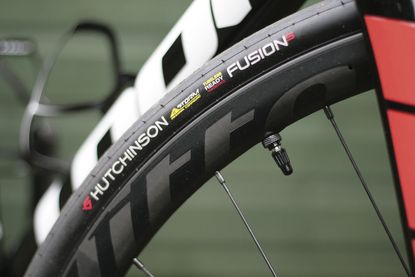

What is a tubeless rim? Think of a car wheel. When a car tyre punctures and flats, the tyre does not unseat from the rim. This is important because tubeless has to mean tubeless all of the time, not some of the time.
A tubeless-compatible bike rim also should retain the tyre well enough that it can be ridden flat or with very little air (5-10psi). I have done this for 10 miles then reinflated the tyre after fixing it with a plug.
>>> The best road bike tyres for 2018/2019
So why do some ‘tubeless’ rims retain the tyre when it’s flat while others let the tyre unseat?
True tubeless rims that comply with the Hutchinson/Shimano and Mavic UST standard have a centre channel so when the tyre is first mounted it sits in here. When you initially inflate the tyre, the bead is forced up onto the larger-diameter shelf either side.
A Mavic UST rim uses a bump next to the channel, which the bead crosses when it first inflates to ensure the tyre cannot unseat. Other rims have a sloping shelf that keeps the tyre bead seated and ensures there’s no going back into the central channel.
Unfortunately, some brands market their rims as tubeless compatible when really they’re not. If you look at the bead hook of a particular well known wheel company it doesn’t conform to what Mavic or Shimano or Campagnolo use. It is too small and is perpendicular to the sidewall rather than pointing upwards. But the customer doesn’t know that.
Making your wheels tubeless ready
Let’s assume you have a genuinely tubeless-compatible rim. If it has spoke holes you will need to fit tubeless tape.
Two complete layers are required normally. Some rims can be a bit undersized and need more layers. The tape should be pulled tight when fitting and pressed in place (I use my thumb) so that the tape is bubble-free and conforms to the rim, not obscuring the tyre-retaining features. Next, make a small hole with a sharp point for the valve hole. Push the valve through the tape and use a rubber mallet to tap the valve in place. Thread the collar tight and bingo, the rim is sealed. The tape should be 2-4mm wider than the internal width, depending on the depth of the channel.
How to mount a tyre and what to expect
A tubeless tyre on a tubeless-compatible rim should be fairly tight. As a rule of thumb, if it can be mounted by hand it’s probably not tight enough.
First make up a bottle of diluted soapy water and dribble over the rim. Mount the tyre and chase the slack before using tyre levers. Fitting the tyre dry is a mistake as if it’s tight you can damage the bead and end up with the join between the bead and the tyre carcass failing and separating. The tighter the tyre fit is, the more secure it will be. This is a good thing.
Once the tyre is mounted, inflate. If a floor pump does not get the tyre up, try compressed air. A CO2 cartridge will also work. The tyre should seat and seal. Not all tyre-rim combinations pop and ping when this is achieved. Inflate to a pressure where there are no low spots in the tyre. Let the air out. Then remove the valve core and inject 40ml of sealant for a 25mm tyre. Bigger tyres can use more. Then inflate again. If the rim has retained the tyre, this will be clean. A tight-fitting tyre means you won’t have to use compressed air to reinflate and that’s less messy and won’t dry out the sealant.
Which sealant to use
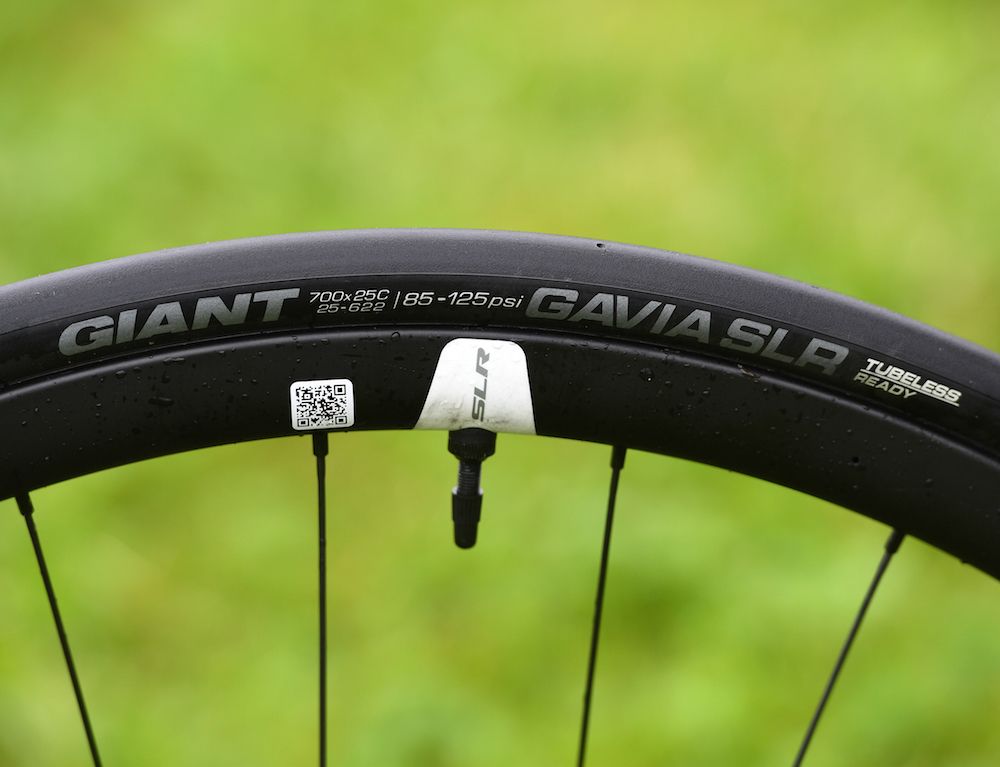
There are three types: latex-free sealant, natural latex sealant and artificial latex sealant. For road use, artificial latex sealants seal best at higher pressures. Examples include Effetto Mariposa, Orange Seal, MaXalami MaXSeal.
Puncturing
Your sealant is not going to seal everything. If your rim retains the tyre and if it is hard to push off by hand, don’t bother packing a tube as you may find it very hard to get it in anyway. Instead, carry tyre plugs (‘worms’). These tacky butyl rubber fibrous strips can repair a tyre permanently or fix a big slice well enough to limp home at a lower pressure.
>>> Buyer's guide to tubeless sealant
I carry 1.5mm and 3.5mm-thick plugs. Most punctures can be fixed permanently with these. I also carry a blade to cut the fat worms down before inserting.
Through the life of a road tubeless tyre I generally end up with plugs shoved in the sidewall and through the tread and they are in there for a few thousand kilometres. I should really stop riding road tyres off-road and down filthy lanes in winter but really where’s the fun in being sensible?
Tubeless tyres are not to be feared and much of the perceived faff is down to user error. I have learnt the hard way but hopefully after reading this you will have an easier time.
My view - Malcolm Borg, The Cycle Clinic
Why tubeless? If like me you ride over 200 miles a week you’ll go through a fair few inner tubes, especially if you like to ride nice, race-level tyres. With tubeless you actually can ride race-like tyres all the time, which give you decent reliability and where punctures most of the time fix themselves. If you do puncture and it doesn’t seal there are easy fixes, although I didn’t know that when I first started using tubeless tyres.
The other reason to ride tubeless is if you want to improve comfort. You can run lower pressures when there’s no inner
tube in there. They aren’t necessarily faster, I’m not going to claim that, but there’s the comfort advantage, better grip and the ability to solve some puncture issues. I’ve got plugs shoved in my tyres all over the place but they will last the lifetime of the tyre.

Thank you for reading 10 articles this month* Join now for unlimited access
Enjoy your first month for just £1 / $1 / €1
*Read 5 free articles per month without a subscription

Join now for unlimited access
Try first month for just £1 / $1 / €1
Paul started writing for Cycling Weekly in 2015, covering cycling tech, new bikes and product testing. Since then, he’s reviewed hundreds of bikes and thousands of other pieces of cycling equipment for the magazine and the Cycling Weekly website.
He’s been cycling for a lot longer than that though and his travels by bike have taken him all around Europe and to California. He’s been riding gravel since before gravel bikes existed too, riding a cyclocross bike through the Chilterns and along the South Downs.
-
-
 Closing the gap: David Gaudu emerges from Paris-Nice more confident than ever before
The Groupama-FDJ rider finished second overall at the Race to the Sun, but gained more than just the result
By Adam Becket • Published
-
 Goodbye lime: We need to talk about the Tour de France green jersey
There's change afoot at ASO's French races, with the combativity colour also undergoing a revamp
By Adam Becket • Published
-
 What are hookless rims and do you need them?
With the big wheel brands launching new rims with straight sidewalls, we ask whether hookless technology can benefit your bike riding
By Simon Smythe • Published
-
 Do you need indoor cycling specific clothing?
With an ever expanding range of indoor cycling kit available, we ask if it really makes any difference?
By Michelle Arthurs-Brennan • Published
-
 Is a stiffer bike really faster?
We take a closer look at one part of the holy trinity of frame design
By Michelle Arthurs-Brennan • Published
-
 Will swapping your chain lube make you faster?
Chain lube is coming of age - we explore some of the newest creations
By James Bracey • Published
-
 How do you choose the perfect rim depth for you?
If money were no object, we'd all have a wheel wardrobe full of options. But for most of us, compromise is essential.
By Michelle Arthurs-Brennan • Published
-
 Can you trust repaired carbon bike frames?
It’s possible to darn a sock, but is it similarly feasible to weave back together broken carbon-fibre threads, asks Stuart Clapp
By Michelle Arthurs-Brennan • Published
-
 What’s the best tread pattern for winter?
With rain, frost and a heightened amount of detritus now decking the lanes, Simon Smythe researches the right rubber for winter riding
By Simon Smythe • Published
-
 Are handbuilt wheels still worth buying?
Simon Smythe weighs up the pros and cons of getting your hoops made to order
By Simon Smythe • Published


